Riggers (short for outriggers) connect the blades to the shell. They’re necessary because the pivot point of the blade has to be out the side of the boat in order to limit the force required on the blade handle and make the rowing movement more comfortable.
Anatomy of a (multi-stay) rigger

The important terminology here is backstay, gate, and topnut. The pin is the rod the gate is attached to and swivels around, and the word might be useful for detailed discussions with your boatsperson. Forestay and midstay are only really useful for boat nerds, and are only present on multi-stay rigger types.
Note
In North America, the gate is instead called an oarlock.
The rigger is oriented such that the backstay is at the back from the perspective of a rower, that is, towards the bows. The blade sleeve is inserted into the gate so that the collar presses on its inboard side.
Also note that there are two sets of mounting holes, in two pairs of a top and bottom hole. This is to make the same rigger applicable to multiple rower heights. When mounted on the top holes, the rigger sits lower, and is thus better for shorter crews. When mounted on the bottom hole, the opposite applies. As such, a general rule of thumb is:
Rule of thumb
When rigging a boat for a women’s crew, use the top holes. When rigging for an open crew, use the bottom holes.
Types of riggers
As alluded to above, riggers come in several types. For a long time the multi-stay rigger was the most common, and is still what you’ll find on most older or less high-end boats. Most new boats use the wing rigger, which itself has two types. The more common is the stern wing rigger, which has the wing bar at the stern and requires a backstay. The bow wing rigger is the other way around, does not require a backstay (where would it go?), and is only found on very high-end shells.
Taking care of riggers
The main thing to remember when dealing with riggers (as with any mechanical joint) is to loosen them before moving them. In particular:
Warning
Remember to loosen the topnut before moving the backstay!
Otherwise, the torsion on the pin weakens it over time. After too many cycles, you end up with a snapped pin (as I found out the hard way — see below).
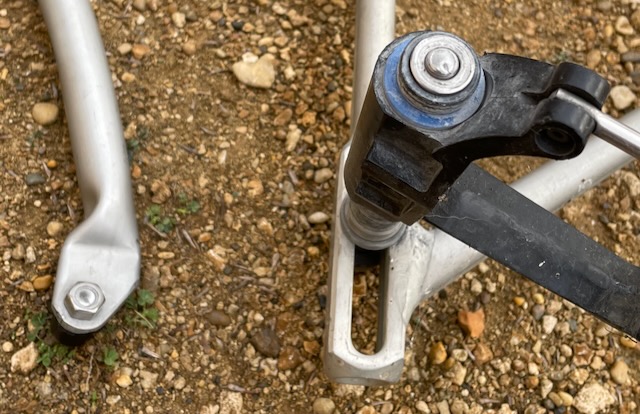
Oops!